This is the third update to the pumpkin. The first update introduced the pumpkin, the second post featured the embroidery design, and this update will feature some final steps.
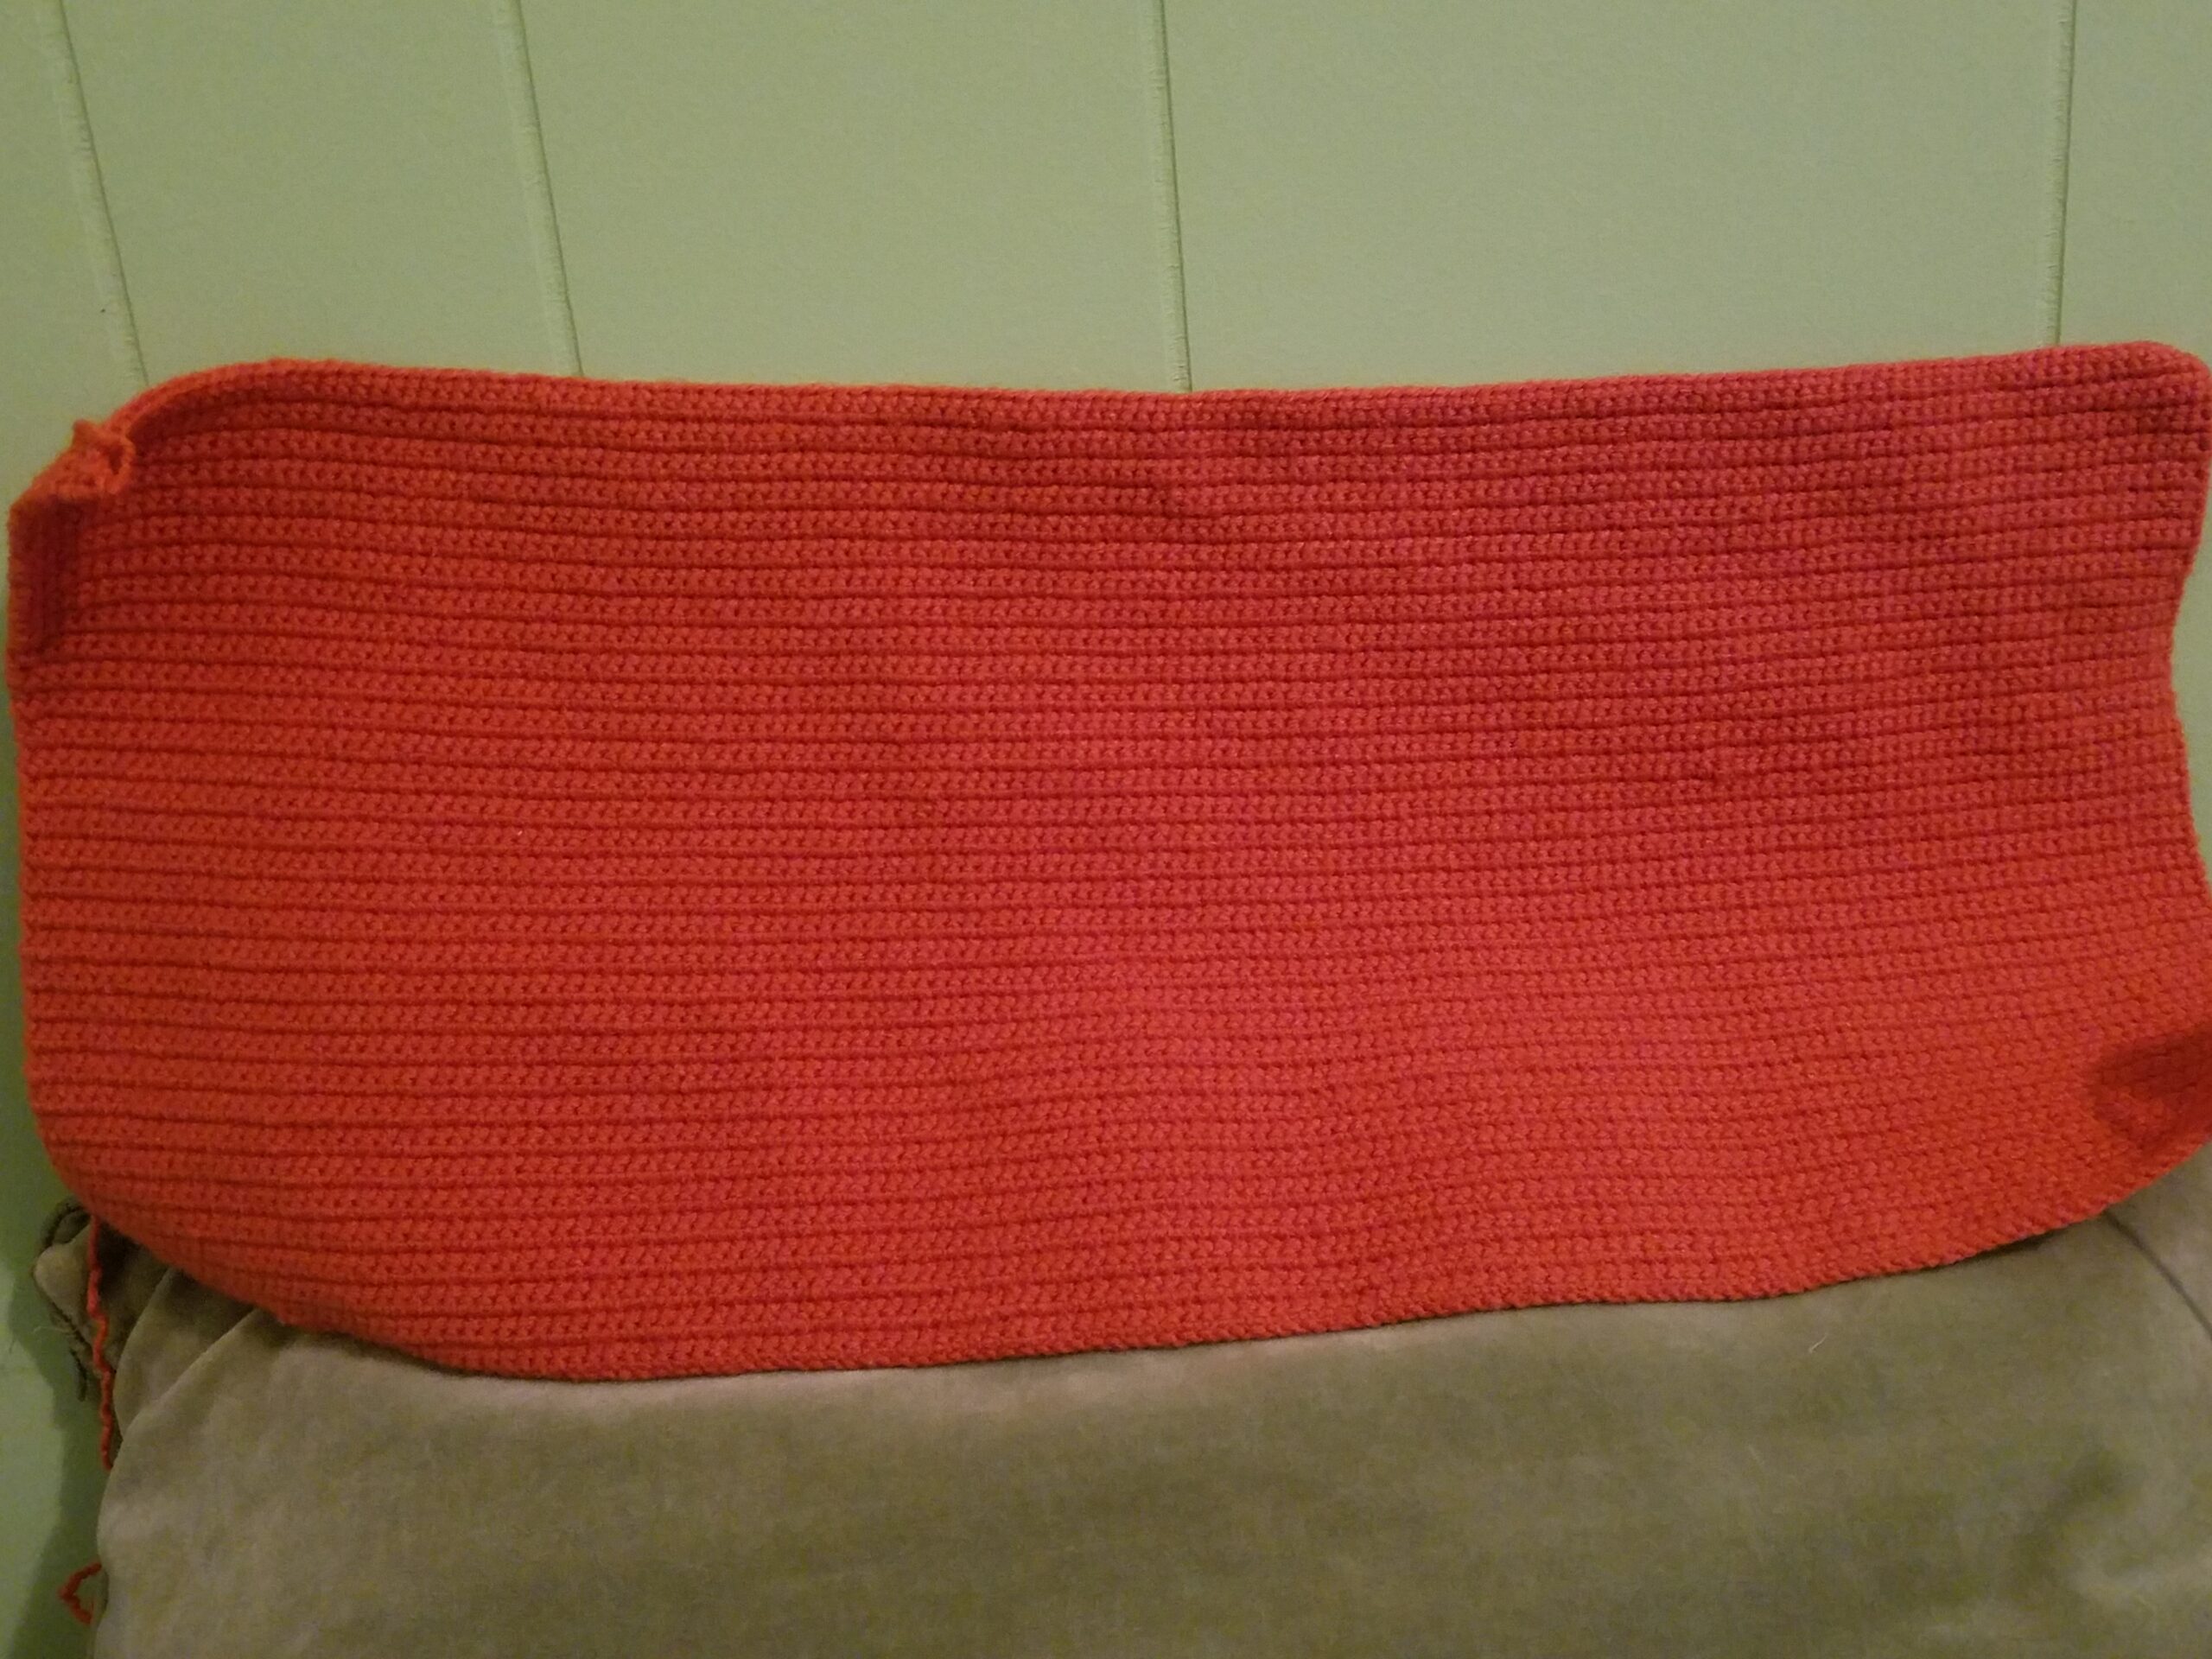
Picking up where I left off from the last post, I had sewn the opposite sides of the pumpkin together to form a tube. Now, the tube just needs to be turned into a round object. I do this by a technique called gathering.
Gathering works very much in the same way as the straps on a drawstring bag. By pulling on the straps, the mouth of the bag will get smaller until the bag is eventually closed. In the same way, if I weave yarn in the stitches of the pumpkin and I pull on the yarn, the hole will get smaller and smaller until the pumpkin is closed.

If you notice from the gif above, wrinkles from the excess fabric will also result when the bag is fully closed. This look works perfectly on a pumpkin due to their naturally segmented appearance. It was for this reason (as well as the embroidering) why I opted to go for the gathering technique rather than simply crocheting a round sphere from the get-go.
By investing a bit of time into the planning stage one can reveal alternative ways to crochet something and make a crochet project look a bit more awesome.
So using a drawstring bag as an example, I got to work gathering the tube by weaving the yarn into the stitches. At first I tried weaving the yarn into every stitch but the wrinkles weren’t as noticeably as I had hoped. After that, I decided to only weave the yarn into a couple of the stitches to better escalate the segmented appearance of a pumpkin.

But I was met with another setback. Since the stitches were so far apart, when I tried to gather the stitches together the inevitable happened: the yarn broke! One of the most irritating things about crocheting is the yarn breaking while sewing because the best way to proceed is to restart the sewing with a brand new strand of long yarn.
Sometimes things don’t go according to plan and that is okay. The point is not to let it get you down. Learn from the experience and try again. Because in the end you will be rewarded with an awesome crochet project in which a lot of experience was gained.
As frustrating as my two prior attempts were, I didn’t quit and I tried for the third time. The third time is the charm, right? It turned out that for my pumpkin the third time was indeed the charm. By weaving the yarn into stitches that are far apart but not too far apart and by working in multiple gathering rounds to prevent too much tension on the yarn, I got the perfect segmented appearance without the yarn breaking.

Although I didn’t expect to have to do the gathering three times, in the end I achieved the look I was going for and so it was definitely worth it. Behind just about every project is a list of mistakes. Just remember, that when your next crochet project has setbacks, it is a process that many crochet projects have been put through time and time again; even the seemingly perfect projects on social media. Don’t give up just because your crochet project has a setback! Keep trying again!
Now since the difficult steps on the pumpkin are over with, the big reveal of this pumpkin will be coming very soon… And you can truly appreciate the final product knowing that it wasn’t as perfect and easy as the final finished pictures make it seem.